Easy Elf Handwarmers (teen/adult size)
*Worsted weight yarn in white, red, and green
*Size H (5 mm) crochet hook
*3 bells (optional)
*tapestry needle and scissors
Handwarmer (make 2):
Row 1: Chain 27 in white yarn. Single crochet (sc) in second chain from hook, and across.
Chain 1, turn. (26 sc)
Row 2: sc in first sc, and in each sc across. Switch to red yarn to complete last sc. Chain 1, turn. (26 sc)
Row 3: sc in first sc and in each sc across. Chain 1, turn. (26 sc)
Row 4: sc in first sc, and in each sc across. Switch to white yarn to complete last sc. Chain 1, turn. (26 sc)
Row 5: sc in first sc and in each sc across. Chain 1, turn. (26 sc)
Row 6: sc in first sc, and in each sc across. Switch to red yarn to complete last sc.
Chain two, turn. (26 sc)
Row 7: Double crochet (dc) in first sc, and in each sc across. Chain 2, turn. Switch
to white yarn to complete last dc. (26 dc)
Row 8: dc in first dc, and in each dc across. Switch to red yarn to complete last dc.
Chain 2, turn. (26 dc)
Row 9: dc in first dc, and in each dc across. Chain 2, turn. Switch to white yarn to
complete last dc. (26 dc)
Row 10: dc in first dc, and in each dc across. Switch to red yarn to complete last dc.
Chain 2, turn. (26 dc)
Row 11: dc in first dc, and in each dc across. Switch to green yarn to complete last dc.
Chain 2, turn. (26 dc)
Row 12 - 16: dc in first dc, and in each dc across. Chain 2, turn. (26 dc) DO NOT FASTEN OFF!
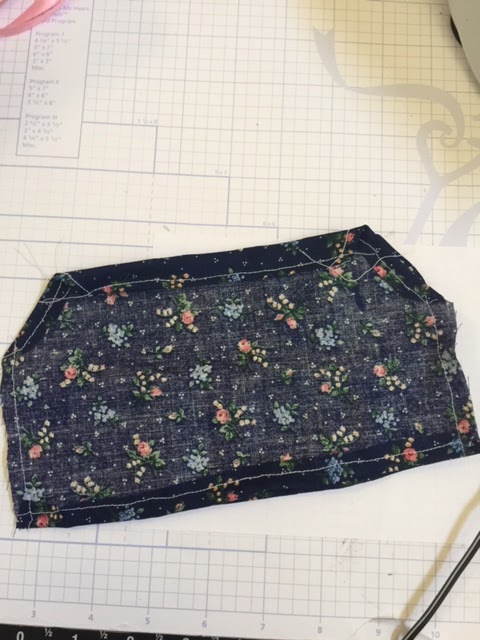
To finish: Leaving yarn attached, fold work in half with right sides touching. Use crochet hook to sew across green section of hand warmer, as shown in video or using your favorite method. Fasten off green yarn. Weave in ends. Use crochet hook and tail of red or white yarn to sew across double crochet striped section of hand warmer, leaving 2-3 rows unsewn. Fasten off. Weave in ends. Sew up the single crochet section of hand warmer in the same manner. Fasten off. Weave in all ends. Turn hand warmer inside out.
Before decorating, make sure one glove is facing up and the other down (so you have thumb holes facing each other...a pair of warmers), then proceed.
Triangle motif (make 3):
Using red yarn, chain 2. sc into second chain from hook. Chain 1, turn. 2 sc into sc, chain 1, turn. sc into first sc, 2 sc in next sc. Chain 1, turn. 2 sc into first sc, sc into next two sc. Chain 1, turn. sc into first three sc, 2 sc in last sc. Chain 1, turn. sc into next two sc, 2 sc, sc in last two sc. Chain 1, turn. sc into first sc, 2 sc in next sc, sc in each sc across. Fasten off leaving a long tail to help attach motif.
Attach/sew motifs onto glove as shown in video (as pictured). Tie a bell onto each point, if you would like.